Valentines in July!

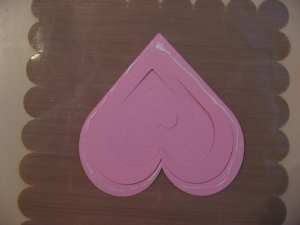
First of all, it’s ALWAYS important to give credit where credit is due. The ideas and methods shown in the video I created today came from a video class taught by Klo Oxford. While she didn’t invent this concept, she did take the time to figure out how to design them in her cutting program and I found her method of creating these spirals to be both brilliant and fun! And it’s relatively easy, too… just make sure you take note of each step and you should be able to create spirals from a wide range of shapes, such as circles, flowers, stars, apples, teddy bears, shamrocks, angels, wedding bells, grad caps, and more! 🙂
The video to learn how to do this in KNK and ACS Studio is here:
If you want to watch Klo’s video class where she creates a really crazy fun card using stars and circles, then go here:
Finally, a big thanks to Lynn Keniston who emailed me about Klo’s video and, thus, prompted me to figure it out for KNK/ACS owners. Thanks, Lynn!!!
The video will show you how to design your spirals. Now for attaching to the inside of your card, here’s a quick method that worked great for me:
1. Decide where you want the spirals in your card. Note that they do not have to be centered. I do like the start of the spiral cut to be positioned towards the center fold:

2. Next, select either side (I chose the left side) and flip it over and apply glue around the outside edge only:

3. Adhere the spiral to the card and clean off any glue that might seep out along the sides.

4. Apply glue to the very center of the spiral, in the place where you want it to attach to the other spiral cut:

5. Place the front of your other spiral face down and centered on top of the first spiral cut. Then apply glue around the outside edge of that spiral:

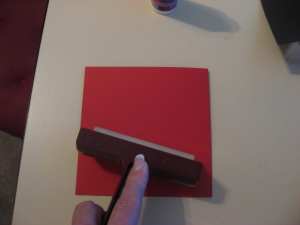
6. Close the card and then press firmly or use a brayer to make sure the newly glued piece will be adhered to the other side:

7. Open your card! You’re done!


